Hydro Power / Pumped Storage
This is a Hydro Power /
Pumped Storage demonstration intended for intermediate elementary students
(Grades 4-6).
Links for my project:
- Faraday’s Electromagnetic Lab Application
(http://phet.colorado.edu/new/simulations/index.php?cat=Work_Energy_and_Power)
Other useful links:
- Build your own generator
(http://www.otherpower.com/hamster.html)
- Build your own simple hydro-power demo
(http://www.re-energy.ca/t-i_waterbuild-1.shtml )
- Overview of Hydro Power
(http://en.wikipedia.org/wiki/Hydropower)
- Overview of Pumped Storage
(http://en.wikipedia.org/wiki/Pumped-storage_hydroelectricity)
- 10F/2.5V Super Capacitors (http://www.sparkfun.com/commerce/product_info.php?products_id=746)
Build Your Own Hydro Power/Pumped Storage
Demonstration
Important points to consider
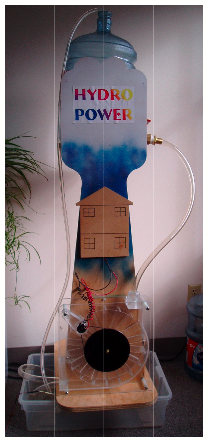
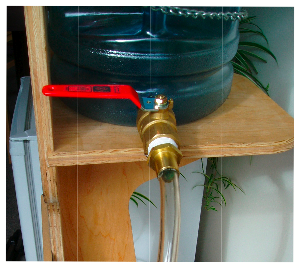
The major components of this demonstration are the upper reservoir, the lower reservoir, a generator, and a pump. When building this demonstration there are many aspects that need to be very carefully built in order to ensure maximum efficiency.
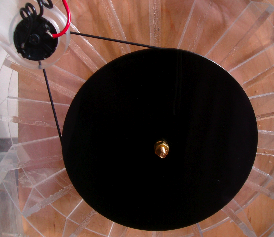
- Water wheel – Although a turbine is usually used for pumped storage, a scaled down version of a turbine is hard to make efficient enough for the job. A water wheel allows for low head with enough torque to spin the geared down generator.
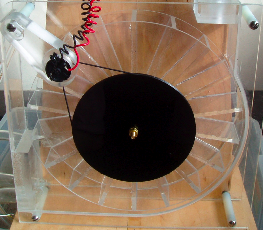
- Generator – You need a very low RPM motor to act as your generator because it is hard to get the wheel to turn very quickly. The motors at http://www.kidwind.org/windshopfiles/partsbuildingmats.html are ideal for the job. They are low RPM and have minimal internal torque. They still need to be geared up ~15-20 times in order to create enough voltage to light the LEDs. This project uses two disks connect with a belt in order to gear up the motor speed because it creates less friction than gears.
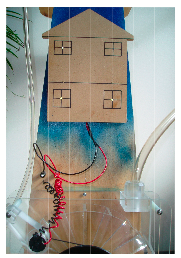
- LEDs. The LEDs used in this project were had a maximum forward voltage of 4.0V at 20mA; however, they also work at lower voltages. LEDs were placed as lights in the window of a house to illustrate how the power produced can be used.
- Water flow – The wide tubing creates minimum resistance to the flow of water. The higher flow rate allows your wheel to turn faster. The width of the tubing can significantly increase the voltage you can get out of your water wheel. This water wheel uses ¾” tubing.
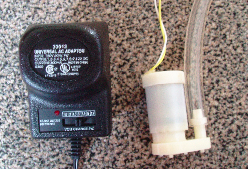
- Pump – For a truly sustainable pumped storage demonstration a low voltage pump would be ideal. Low voltage pumps can be found at http://www.kidwind.org/windshopfiles/partsbuildingmats.html. With a low voltage pump solar panels could be used to store the energy needed to pump the water to the upper reservoir. However, the solar panels need to produce a high current (~0.5A) in order to work with this pump. Another problem with the pump is that they only pump ~2m high at their maximum voltage (6V). With a low head water wheel this isn’t a problem, but if you do need it to pump higher you might consider a windshield washer fluid pump (12V). For this project the pump is connected to a transformer that can be plugged into the wall.
What to bring with you to the classroom (for a
class of 30)
1. Waterwheel demo (including upper and lower reservoir
tanks and pump)
2. Computer with Faraday Application downloaded onto it
3. Projector
4. BBQ Skewers (~15)
5. Straws (~15)
6. Popsicle sticks (~60)
7. Dixie cups (~60)
8. Rolls of masking tape (~5)
9. Rolls of Duct Tape (~1)